Simple integration
Примечание
If you’re developer jump to Get Your Widget.

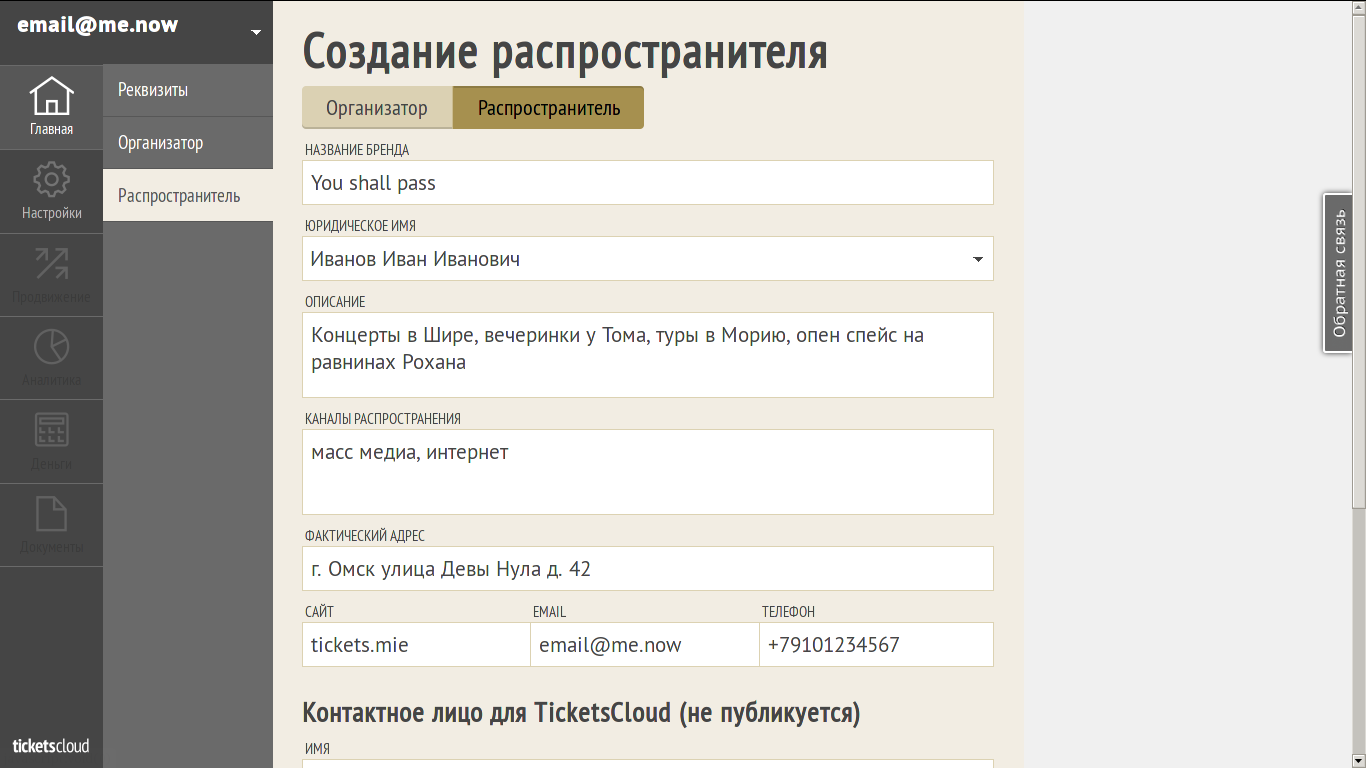
Provide Base Information About Your Company
On the next step you need to provide base information about your company to let us know a little bit more about with whom we’re working on. This information is used to make assignments between your company and TicketsCloud.

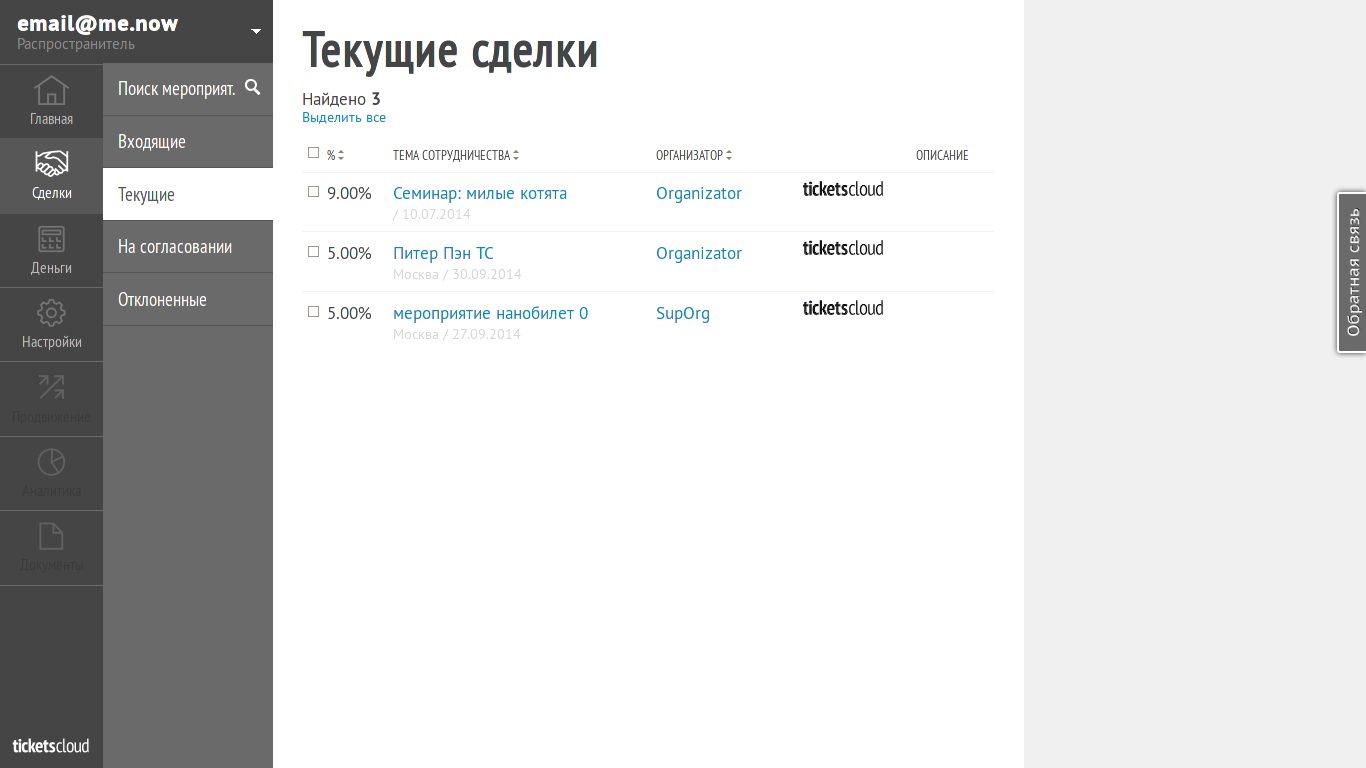
Make a Deals
Now it’s time to make a deals! Deals are special business object which allows Distributor to sell tickets on events provided by Organizers.
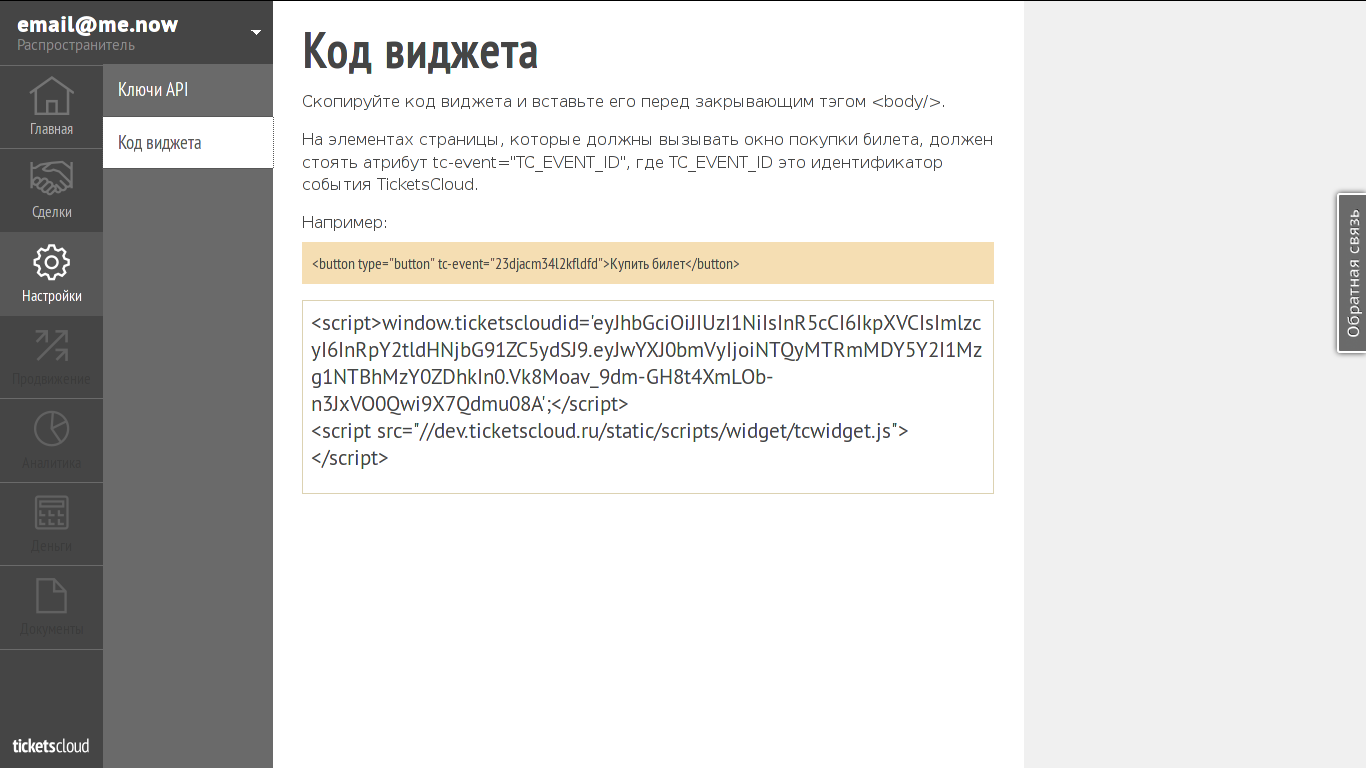
Get Your Widget
Navigate to “Options” menu, pick the widget code and insert it into your website source code. Make sure you followed other instructions on the page.
Bind Your Events With TicketsCloud
To let your widget work, you should pass Event ID to it as query parameter. However, this ID should be native for TicketCloud and unlikely will be familiar for your system. To fix this moment you should create binding mapping between your event IDs and TicketsCloud ones. To simplify the process see Simple service for lazy integration page.